
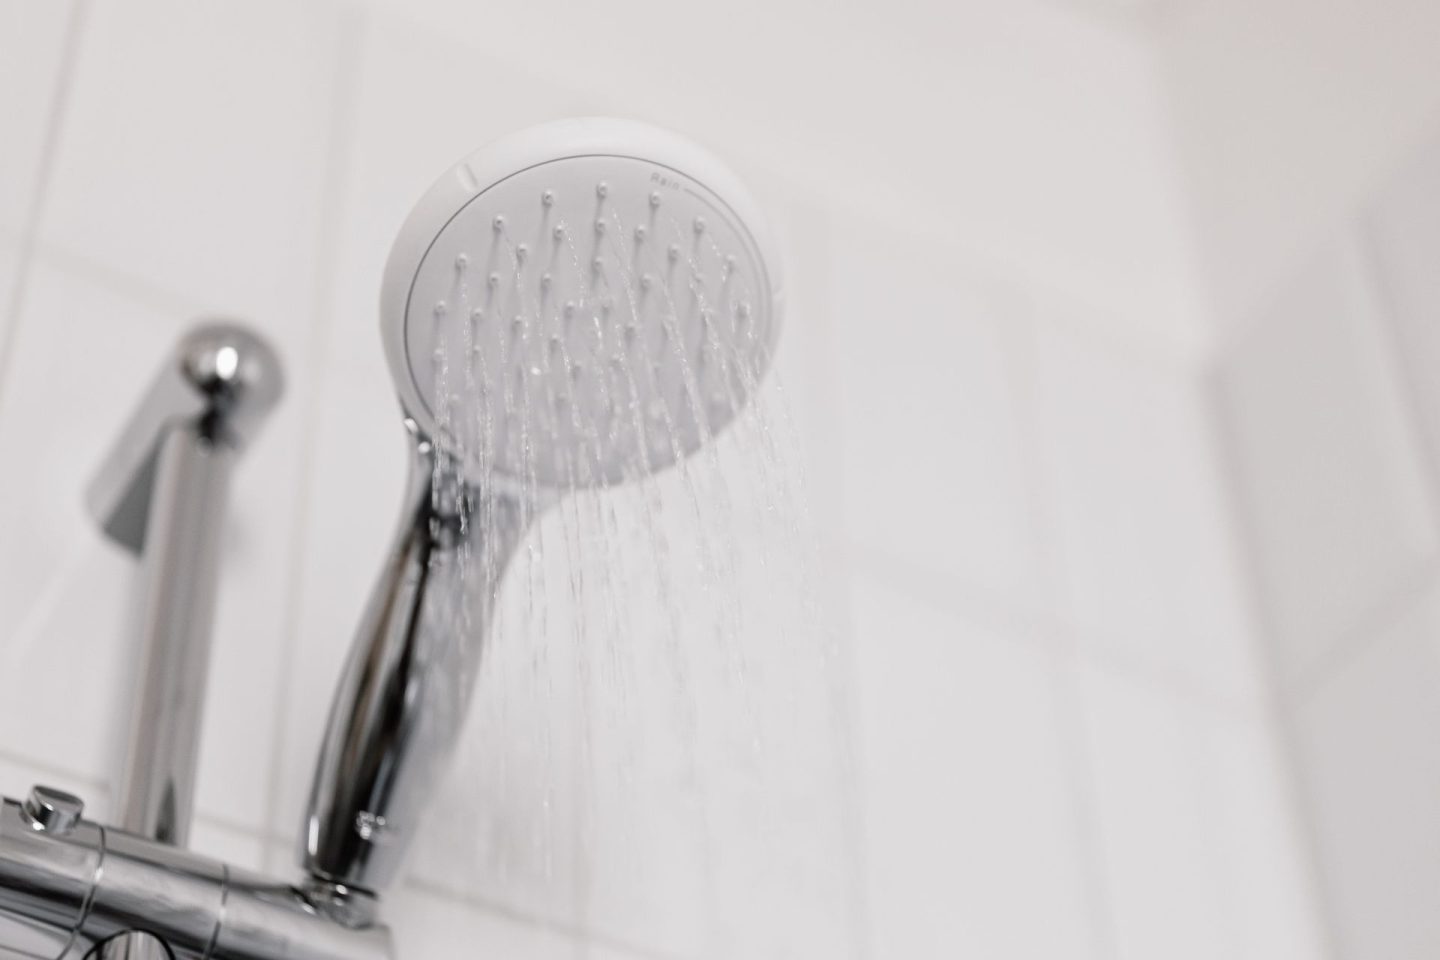
A luxurious shower space is a sanctuary for relaxation and rejuvenation, but the tranquillity can be disrupted when leaks occur. A leaky shower not only compromises the aesthetics of your bathroom but can also lead to structural damage and increased water bills. In this guide, we’ll explore essential strategies for repairing your shower space, ensuring it remains a leak-free haven for years to come.
Identifying the Source of the Leak
A. Common Areas of Shower Leaks
To effectively repair a leak, it’s crucial to pinpoint its source. The shower valve is one prevalent source of leaking showers, where wear and tear or faulty components can lead to water seepage. Faucets and showerheads are additional trouble spots, with worn-out seals or loose connections contributing to leaks. The seams between tiles and the shower pan are notorious for water infiltration, especially if grout and caulking are compromised. Addressing these common areas of leaking showers is crucial for preventing water damage and maintaining the integrity of the bathroom space. Regular inspections, prompt repairs, and the use of high-quality sealants are essential steps in safeguarding against the nuisance of leaking showers.
B. Signs and Symptoms of Water Damage
Identifying signs and symptoms of water damage is imperative for timely intervention and effective shower repair. Water damage often manifests through visible cues such as stains on walls or ceilings, peeling paint or wallpaper, and the emergence of a musty odour. These indicators can signify leaks within the shower space, potentially causing structural issues if left unaddressed. Early recognition of these signs allows homeowners to take prompt action, minimizing the extent of the damage and facilitating necessary repairs before more severe problems arise. Regular vigilance and swift responses to signs of water damage contribute to a healthier and more resilient shower space.
DIY Repair Techniques
A. Sealing and Caulking
Many shower leaks originate from deteriorating seals and caulking. Over time, the seals around the shower door and the caulking along seams can deteriorate, allowing water to infiltrate. Regularly inspecting and replacing worn-out seals and reapplying high-quality caulk can create a robust barrier against leaks. Ensuring that all gaps and joints are adequately sealed enhances the longevity of the shower space and contributes to a leak-free environment. This simple yet effective DIY measure is a proactive step in shower maintenance, promoting a watertight seal that protects against potential water damage.
B. Fixing Grout Issues
Cracked or deteriorating grout can compromise the waterproofing between tiles, allowing water to seep into the walls or subfloor. To fix grout issues, start by removing damaged grout using a grout saw or tool. Once removed, replace it with a high-quality, waterproof grout product. Ensuring that all seams between tiles are properly sealed prevents water infiltration, contributing to a sturdy and leak-free shower enclosure. This simple yet effective DIY repair enhances the shower’s aesthetics and fortifies its resilience against potential water damage.
C. Repairing Damaged Tiles
Broken or loose tiles can compromise the integrity of the waterproof barrier, allowing water to infiltrate and potentially lead to structural damage. To address this issue, carefully remove the damaged tiles and clean the area. Then, apply waterproof adhesive to secure the new tiles firmly in place. Ensuring a tight seal between tiles helps prevent water from penetrating the shower walls or subfloor, contributing to the overall durability of the shower space. This DIY repair enhances the bathroom’s aesthetic appeal and reinforces the protective layer against potential leaks.
Professional Solutions
A. Hiring a Licensed Plumber
For complex leaks or issues within the plumbing system, it’s advisable to consult a licensed plumber. A professional can thoroughly inspect your water system, identify hidden leaks, and provide precise solutions to ensure a durable and long-lasting repair. Additionally, hiring a licensed plumber provides you with a level of accountability and protection. In the event of unforeseen complications or if the work is not up to par, a licensed plumber can be held accountable for rectifying the issues. This professional approach guarantees quality service and offers peace of mind, making the investment in a licensed plumber a wise choice for maintaining the integrity of your home’s plumbing system.
B. Consulting a Bathroom Remodeling Expert
Sometimes, leaks may be indicative of broader issues with your shower’s construction or design. Consulting a bathroom remodelling expert can help you address underlying problems, ensuring that your shower space is not only leak-free but also aesthetically pleasing and functional.
C. Evaluating the Need for Waterproofing
Consider investing in waterproofing solutions for your shower space. Waterproofing membranes can be applied to surfaces to create an impermeable barrier, preventing water from seeping into the walls or subfloor. This proactive measure enhances the overall durability of your shower.
Preventive Maintenance
A. Regular Inspection and Cleaning
Perform routine inspections of your shower space to identify potential issues before they escalate. Check for any signs of wear and tear, and clean the shower regularly to prevent the buildup of mold, mildew, or soap scum, which can contribute to leaks.
B. Using High-Quality Sealants and Materials
When repairing or renovating your shower, prioritize high-quality sealants and materials. Invest in products specifically designed for wet environments, as they offer superior resistance to water damage and ensure a longer lifespan for your shower space.
C. Upgrading to Leak-Resistant Fixtures
Consider upgrading to fixtures designed with leak-resistant features. Modern showerheads, faucets, and valves often come with advanced technologies that minimize the risk of leaks. Investing in these fixtures not only enhances performance but also contributes to a more efficient and leak-free shower experience.
Addressing Structural Damage
A. Repairing Subfloor Issues
Leaks can lead to subfloor damage, compromising the stability of your shower. Address any structural issues promptly by repairing or replacing damaged subflooring. Ensure that the subfloor is solid and well-protected against moisture.
B. Handling Wall and Ceiling Damage
If water damage has extended to the walls or ceiling, address these areas promptly. Repair or replace damaged drywall, and consider applying moisture-resistant paint to provide an additional layer of protection. This comprehensive approach prevents further structural deterioration.
Upgrading Shower Systems
A. Considering Modern Waterproofing Technologies
Explore modern waterproofing technologies for enhanced leak prevention. Products such as liquid waterproofing membranes and waterproofing shower systems offer advanced protection against water infiltration. Incorporating these technologies during repairs or renovations can significantly boost the longevity of your shower space.
B. Exploring Low-Maintenance Shower Options
Consider low-maintenance shower options that reduce the likelihood of leaks. Frameless glass enclosures, for example, minimize the use of seals and edges, reducing potential weak points for water to penetrate. Exploring such options during repairs or renovations can contribute to a more resilient and leak-resistant shower space.
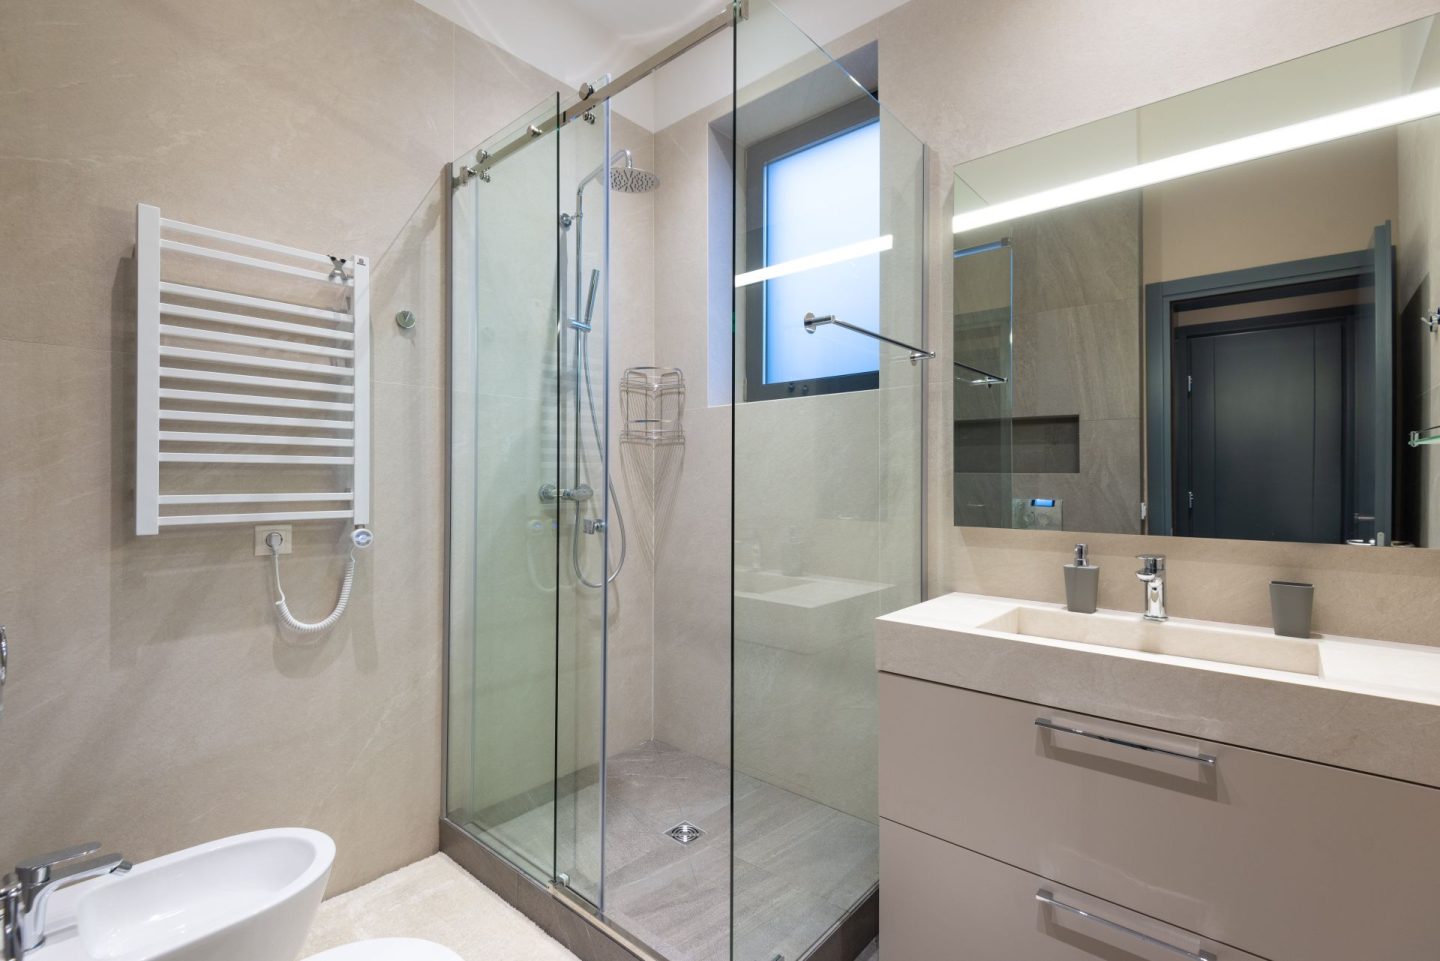
In conclusion, achieving a leak-free luxury shower space involves a combination of proactive maintenance, timely repairs, and strategic upgrades. Whether you opt for DIY solutions, consult professionals, or invest in modern waterproofing technologies, the goal is to create a shower space that not only exudes luxury but also stands the test of time. By implementing these strategies, you can enjoy the serenity of your shower without the worry of leaks, ensuring a lasting and enjoyable bathing experience.

